What is Graphic Facilitation (and why is it perfect for ELT)?
So you may have seen my previous blog posts, social media messages or attended one of my training sessions. You might have heard me say ‘I’m a Graphic Facilitator’ or ‘Graphic Facilitation is great for the English Language Classroom.’…. you then might have thought…

Let's explore graphic facilitation for language learning.
Graphic Facilitation (also known as visual facilitation) is the use of simple, often hand-drawn, graphics to support groups or individuals towards their goals. Typically, graphic facilitators use large sheets of paper, flipcharts or whiteboards and markers to engage participants. Online, visual facilitators can do this using pre-drawn visuals, a graphics tablet, drawing software or a visualiser.
Graphic facilitation falls under the umbrella of visual thinking. Some examples of activities involve using very simple hand-drawn icons, visual metaphors, graphic storyelling, visual templates, graphic organisers, infographics, mindmaping and sketchnoting. Having used graphic facilitation techniques for a few years now, I can safely say that they work very well indeed in the language classroom.
Why is visual facilitation so good for learning English?
Graphic Facilitation Aids Critical Thinking
Learners can observe the visual, listen and understand its explanation or instructions, analyse
it, apply it, share their interpretations, write about it, or create their own.
Set students a challenge to draw something tricky. For example, motivation or the difference between easy and difficult. This process will get students thinking, collaborating and sharing their ideeas. As an additional task, have students evaluate the effectiveness of their visuals.
Visual Facilitation Makes Learning Memorable
In my previous blog posts I’ve written about the drawing effect, which found
that drawing aids vocabulary retention. It also makes pages of notes, resources
and materials more distinct, which in turn makes them more memorable.
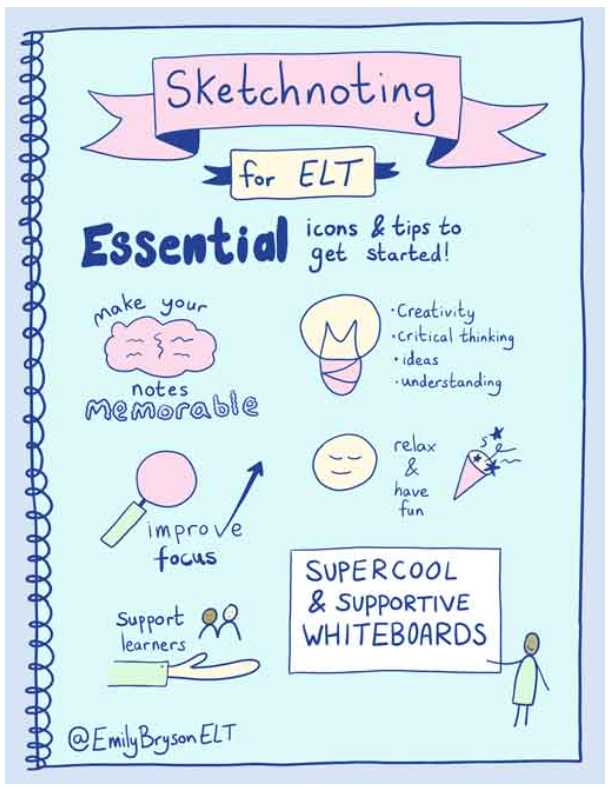
Here’s a quick sketchnote I made of Joan Kang Shin’s IATEFL 2021 talk on Visual Literacy. Wouldn't you agree that it's more memorable than a page of text?

Graphic Facilitation Aids Understanding
Adding a quick drawing, asking your learners to draw or using a visual as a concept check is an excellent way to find out if they have understood.
Visual Thinking is Versatile
It can be used to teach grammar, vocabulary, reading, writing, speaking, listening and pronunciation. You can use it to plan out lessons, curriculums or meeting agendas. I even used it to capture my students’ reflections at the end of term.
This template can be used in in various ways:
1. Photocopy it and use a pen or pencil.
2. Online – share your screen and use annotation tools.
3. Send them a copy and ask them to use digital drawing tools to complete it.
4. Ask them to draw their own. You could ask them to add their own sections (e.g. a cline for digital skills).

Quick & Copyright Free Classroom Visuals
The visual capture sheet above took about ten minutes to draw. The same document would probably have taken me about an hour fiddling about with tables in a word document or canva and searching for copyright free stock photos. Granted, it took me a while to learn to draw those icons quickly, but it’s a bit like learning the alphabet; it takes a bit of time but once you know it, you wonder how you ever lived without it.
Enhancing Language Learning with Simple Graphics
From experience, I know that Graphic Facilitation enhances and supports the language learning experience. I’d love ELT practitioners to gain confidence using it!
If you’d like to learn more, check out my courses. Click the laptop for info!

Further Reading on Visual Thinking for Language Teaching
Over the years, I have written a number of articles and blogs on the topic of visual facilitation in the English language classroom for top ELT organisations. You can read them here:
Visual Thinking to Make Learning Accessible, Engaging & FUN,
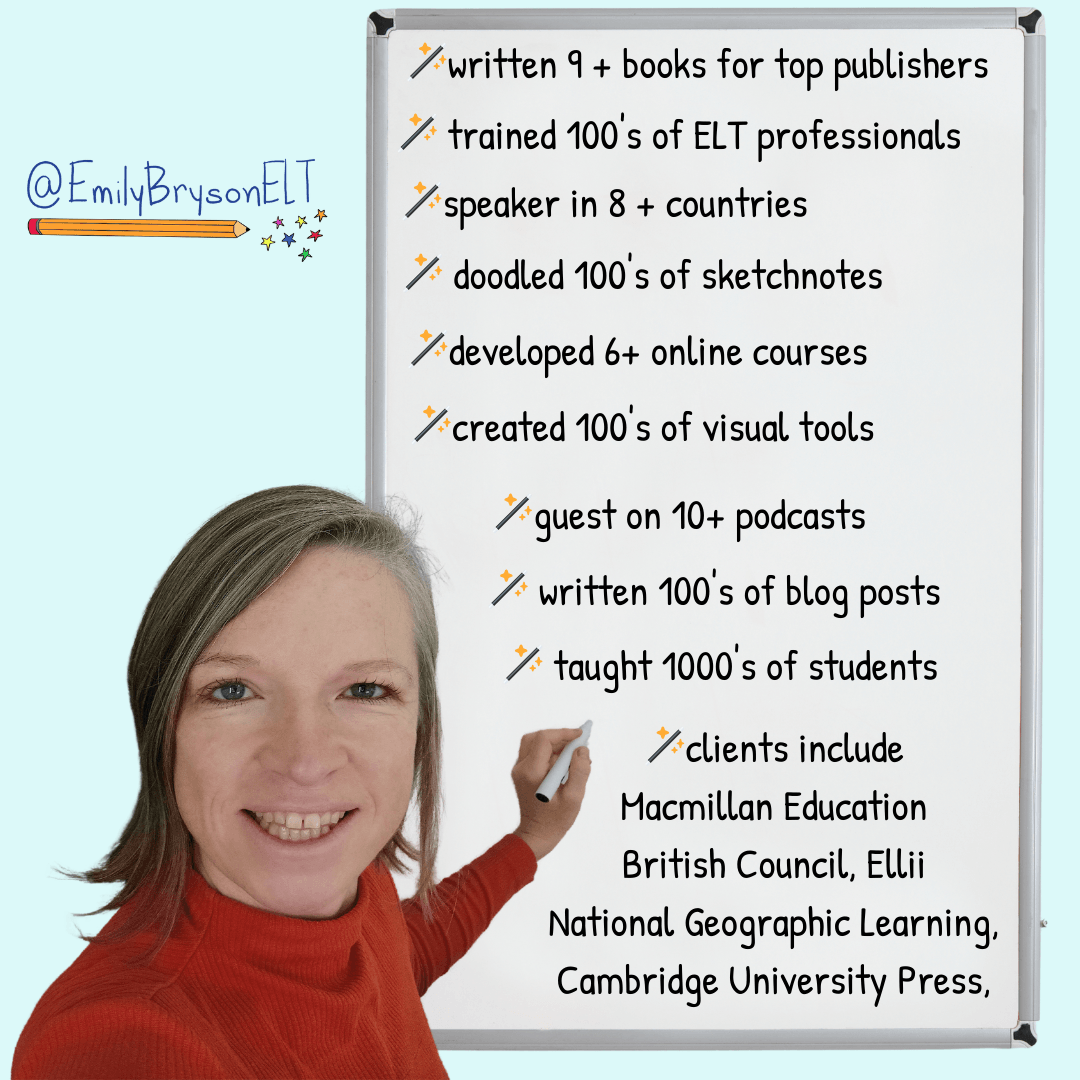
I'm Emily Bryson, an English Language Teaching Specialist who brings visual thinking sparkle to classrooms around the world.
I can help ELT Professionals and Educators with:
Teacher Development online and in-person
Visual Thinking Resource Packs for language learners
Online Courses in visual facilitation for English language teachers
Materials, Books, Blogs for the ELT classroom
FREE Guides in Sketchnoting & Graphic Facilitation for learning English
Free Guides in Visual Thinking for English Language Teachers

Online Courses & Resources with a Visual Twist
Designed Especially for ELT Professionals


Visual Note Taking (Sketchnoting) & Teacher Development Services for Online & In-Person Educational Conferences & Events


Leave a Comment
🪄 Visual Sparkle for English Language Learning & Teaching 🪄
Copyright © 2025 Emily Bryson ELT


